

I’ve taken you through an easy way to draw a template using the triangle and oval technique, I’ve taught on frills, and drawing male templates, even on motivation before you start. Today’s post is on the more technical way — as I like to call it — of drawing female model templates. It’s quite easy. Make sure you check the male model templates tutorial where I first introduced this technique. The female version is alike, with a few differences.
Like I said before, if you’re really badass, you can skip using lines. The lines are there to guide you.
• First and foremost, gather your materials together. Always make sure what you need is within reach.
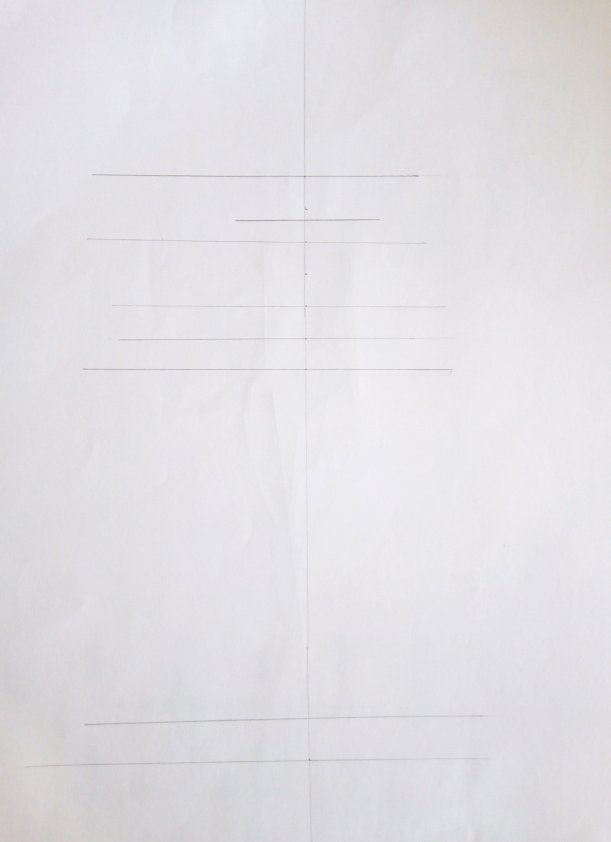
• Secondly start with a horizontal line, and a vertical line crossing that, like I showed you in the male template tutorial.
• Above the line measure 6cm and draw a horizontal line there to mark it. Below the line, measure 12cm for the legs —Our models need long legs please 😊 — and mark a little above that for the feet.

• Now the work starts. Divide the top half into three parts, 2cm wide each, the last part should be divided in the middle.
You’d have something like this.

• Now onto the head. Remove a little space from the first section of the top part which would serve as the neck. The head is basically an acorn 😂
Just a circle and something like a ‘V’ under.

• The second section is for the torso. A little bit above 2x the width of the head serves for the width of the shoulders, unlike the 3x in the males’ own.
• About the witch of the head serves for the stomach which cuts across the second and third section.
• The hips size depends on what you want. I made mine a bit wider than the shoulders. And — should I call it the groin?🤔 — fix the groin 😂

• Make the necessary connections…

• Onto the legs. We are doing a walking figure. Draw two lines that cross somewhere in the middle of the lower part. Not so much. Just like this.

• Using your discretion, form the legs, and let the lines guide you. Make sure it looks somewhat like mine.
• I traced the leg with a black pen and erased the parts not to be seen, like the lines, just to make sure it looked like legs. 😋
You can do that too, or keep going.


• My loves. . . It’s down to the hands. I made little modifications to the top part, which I’ll show you below.
• For the hands, one line is a bit outward — the right in my case, since the left leg us out, and it’s a walking figure — the other falls behind the hips.


• Go ahead and form the hands.
Ignore my crooked lines. I smoothed it out in the end.
• Fix the curves and abs too.

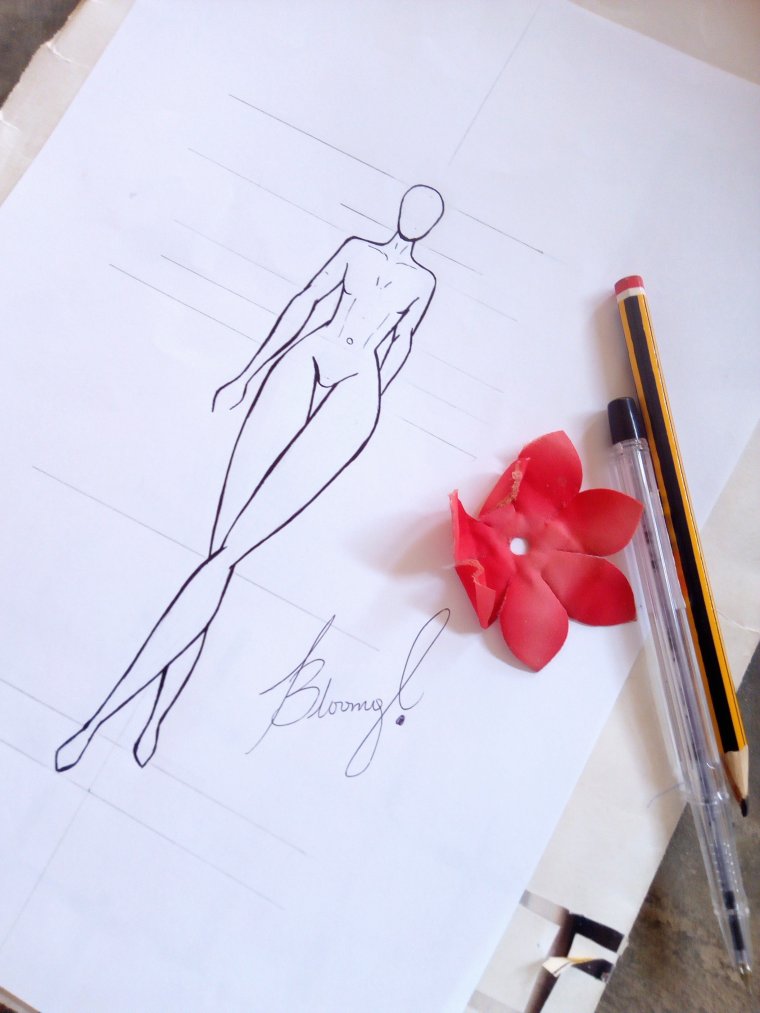
Like I always say, I like to go over everything with a black pen, and smoothen, as well as thicken the lines. Then I erase what needs not be seen — the lines and mistakes and messes made.
Tada!


Till another class loves.
Hope you’ve learnt a thing or two.
♥️

You’re so good ❤❤😍😍
LikeLiked by 2 people
Thank you 🤗
LikeLike
I just envy this geh😩😩😩😒
I can’t even make a curve.
LikeLiked by 1 person
😂
God will help you.. Thank you
LikeLiked by 1 person
Dayum! Some clothing would have done her some good! Lolol 😅 you’re very talented I must say! Well done again! 👏
LikeLiked by 2 people
Lol 😂
Thank you
LikeLiked by 1 person
You’re welcome!!!! 😁
LikeLiked by 1 person
Nice blog,
Cute drawing and Well explained about fashion designing, Even my friend also did fashion design from the best Fashion Designing Colleges In Chennai and he is now a successful designer.
LikeLiked by 1 person
Thank you. That’s wonderful about your friend.
♥️
LikeLike