
Hello from this side of fashion. How are my aspiring designers and their fashion adventures?
It feels like ages since I put up a post in designing… but I still got you. I’m going to try to do two fashion designing posts in a month, and try to increase that with time. This is on how to draw male models. I’m showing you a technical way I learnt from idrawfashion here, but if you’re badass, you can ditch the technicalities and just draw freely.
So get your clean sheet and drawing materials ready and let’s draw.
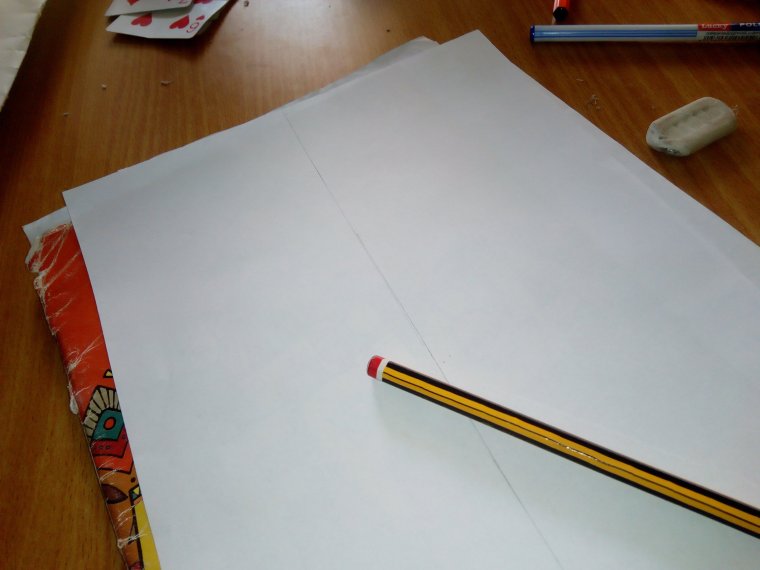
First of all, you’d like to start with a straight vertical line from about the top to the bottom of your paper, depending on how tall to want your model to be. Then cross that with a horizontal line somewhere around the middle.
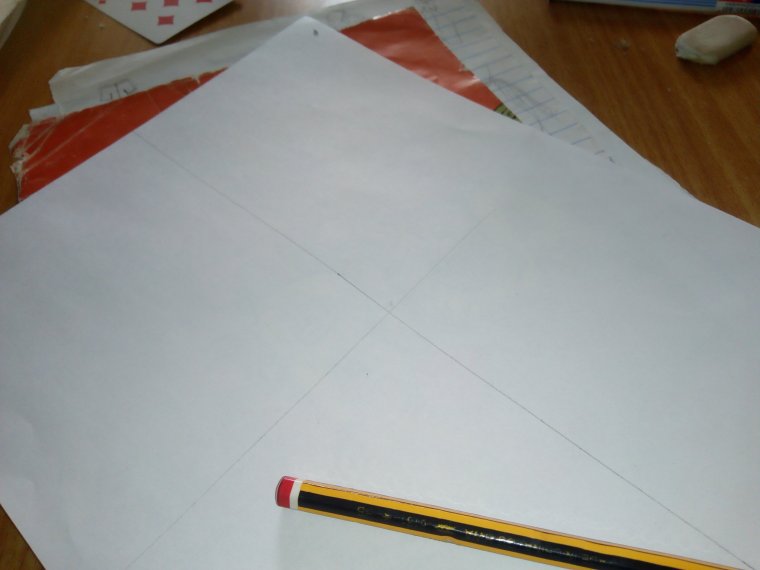
For the top half, divide into four parts, with a consistent amount of space in between. This depends on how short the torso of your model would be. I would however, advice you use 2cm each, which is what I used here. It should be like this:
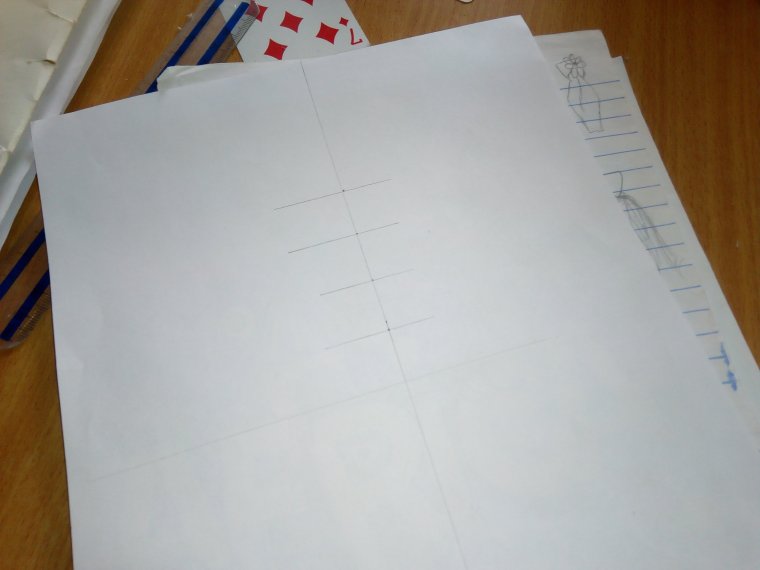
So in total, your model’s torso is 8cm long. Of course, the down side for the legs would be longer. The down side for me is 10cm, but you can use 12cm for longer legs. 2cm out of the 12cm is for the feet. Mark half distance of the 10cm (not including the 2cm for the feet) which would be for the knees. So mark that too. Altogether, you’d have something like this below. If yours is distinctively different, go up 👆 and try again.

Mark a little space above and a little under the first line. Just like this… make sure it looks like this, cos it will serve as the space for the neck.

I labelled what would go where in this picture, so you can save this and use as a guide whenever you want to draw.

So we’ll go accordingly, starting with the head. The head is basically a pentagon with less harsh edges. This is a male model’s head, so it should have more angles than a female’s. Use a pentagon, then soften the edges. Also add the neck in that little space you created before. It should look like this:

The next thing is the shoulders. The shoulders are three times the size of the head. It must not be accurate. Using your discretion, just mark out three heads in that space. Something like this:


After that, you form the full torso. The waist goes a bit in almost at the end of the third space. Look at the picture below to check what I mean.

Now you have your full torso, we proceed to the legs. Using straight lines, you illustrate the shape of the legs just like I did in this picture below. You’d see what I’m trying to recreate by the side of the drawing.
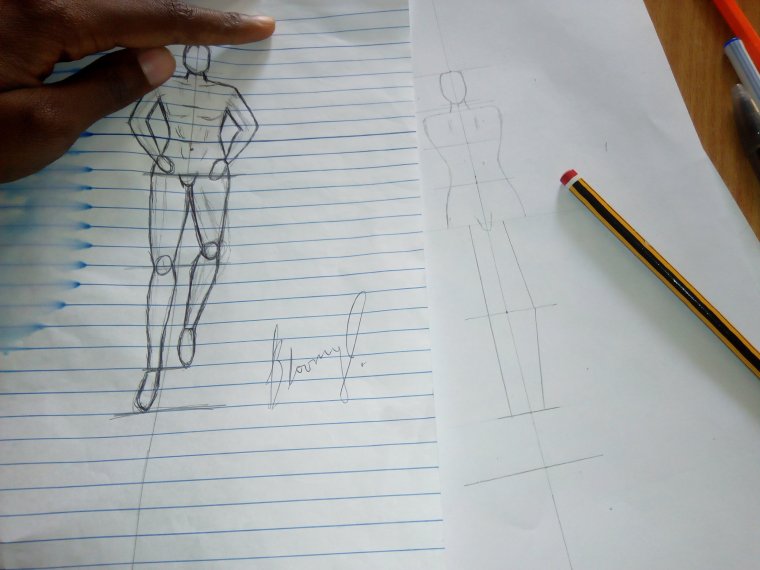
From it, you’d see that one leg is straight and the other is bent, to illustrate someone walking. I used little circles for the knees and long oval-like shapes for the feet. When you’re designing, you’d still end up shaping the feet to the style of the shoe.

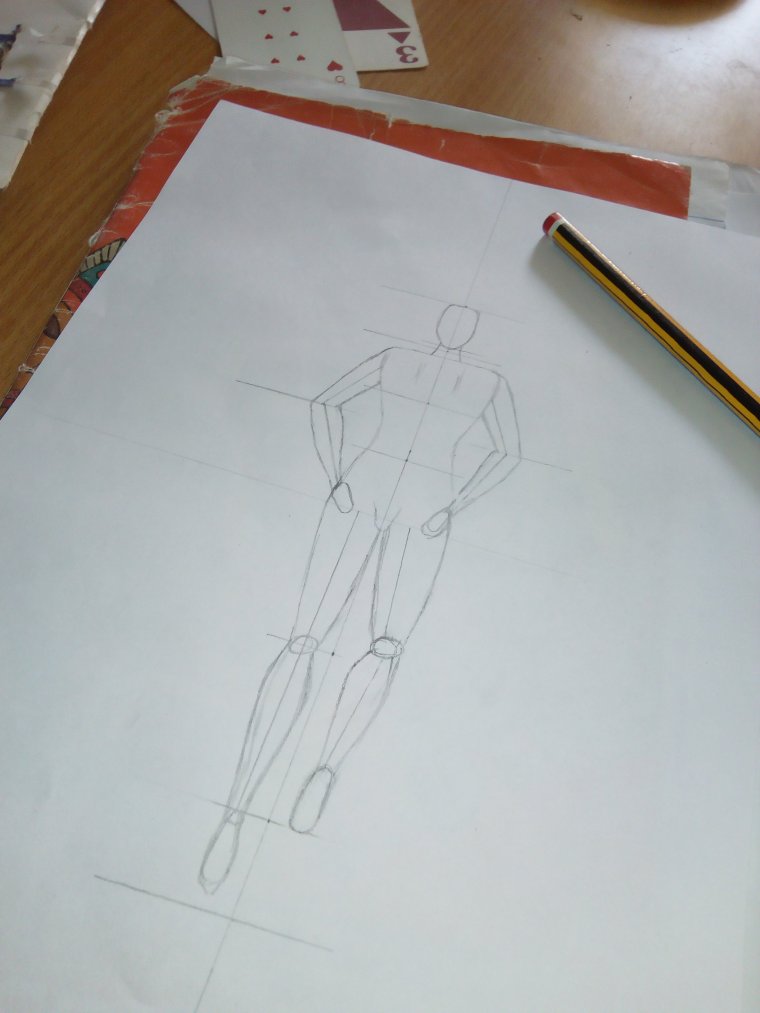
Now you form the legs. Let the lines guide you. So because this is a walking model, the knee of the bent leg would have to come higher than the other. Just a bit higher. I had to erase to create that.

When you’re done with the legs, it should look like this. Remember that a male would have more muscle in the legs, so draw the calves and the thick thighs…not too thick though. Let it look like this:


Now to the hands. Just like you used straight lines to illustrate the legs, using the same to illustrate the hands. Mine is to have his hands bent at the elbows and in his pocket…(which does not exist until I draw a cloth on). So the lines are bent in an angle, with the angle forming at the middle of the third space for the elbows this way:

Now we form the hands, just like we did with the legs. In the end, you’ll have something like this:

So basically, this is a full model, but it’s a fit model, so we need muscle. I used a recent drawing of mine as guide to putting the muscle, not too much, and the abs in the right places.


Complete the face if you wish, add cheekbones, or just do it like mine. And you have the full model.

As usual, I go over mine with a black pen. Just to project it the more, and erase the pencil. I like to give them masks… I don’t know why 😁


You can follow this guide to draw other models. If the hand is outstretched, illustrate with a line first. If the leg is stretched to the right, illustrate with a line first. If it’s bent, do the same. Let the lines guide you. Here’s a few of my drawing. I also just learnt how to draw male models so I still have very little sketches.


If there’s any other topic you’d want me to touch on sketching in fashion designing, before we go to colouring and painting, just let me know in the comments section below.
The next is going to be on illustrating designs, like prints, patterns, collars, lace, and others.
I hope you learnt something.
♥️
Till next time.
Go, Draw and Conquer!

Can’t wait for female model sketch
LikeLiked by 1 person
I showed an easy way to draw a female model template here
https://girleccentric.wordpress.com/2017/09/10/diy-envelope-a-guide-to-fashion-designing-sketching-modeltemplates/
However, I’ll do the technical way too. That would probably be my next fashion designing post.
Thanks for stopping by love.
LikeLike
Thank you!
LikeLiked by 1 person
You’re welcome 🤗
LikeLike
Very interesting! Thanks for your advices 😉
Kiss
Chiara
https://estroinlonguette.com/
LikeLiked by 1 person
You’re welcome… And thanks for stopping by.
LikeLiked by 1 person
What a great idea for a blog post! I find fashion designing really interesting and I gave up my teenage dreams after realising that I couldn’t draw lol. But this is an amazing step-by-step! 🙂
LikeLiked by 1 person
Awwww…. Maybe you should try this step-by-step trick and see if it works out for you.
Thank you for stopping by 😊
LikeLiked by 1 person
Wow yours so good at this! Fashion designing is on top of my 2018 aspirations though am not good at drawing.
LikeLiked by 1 person
Thank you very much
I’ve heard a lot of people say that they are not good at drawing. I’m planning on doing a post on that next. There are so many ways to draw or design, even for those that don’t draw so well.
Thanks for stopping by ♥️
LikeLiked by 1 person
Oh, wow. This is all shades of awesome! Well-done, girl!
amakamedia.com
LikeLiked by 1 person
Oh my….. Thank you so much 🤗
LikeLike
This is very interesting. I love how detailed you were in writing and taking pictures.
LikeLiked by 1 person
That’s nice..
Thanks for stopping by ♥️
LikeLike